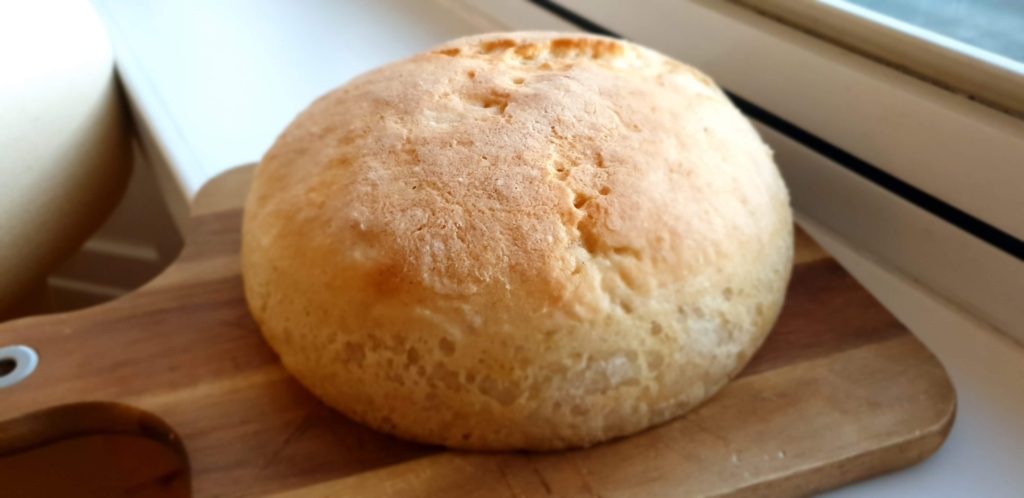
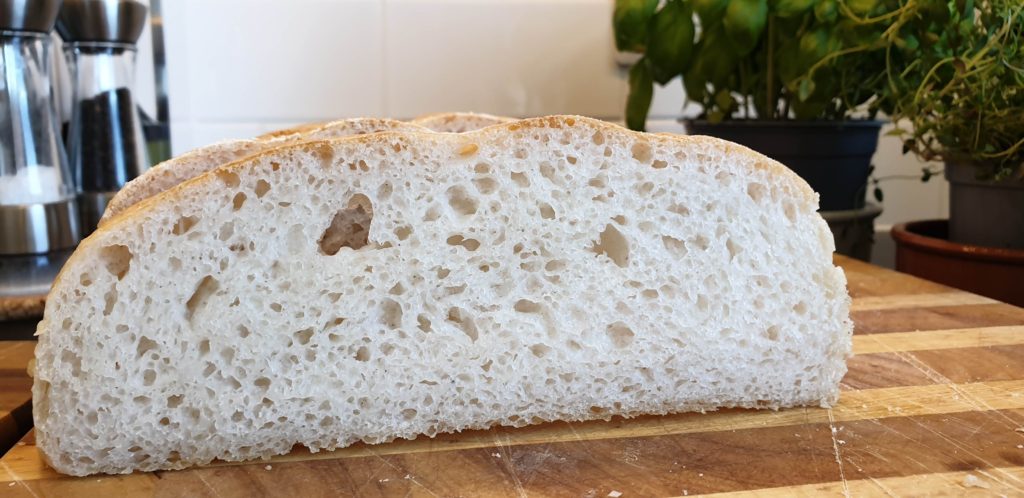
Fluffy gluten free sourdough bread with those magnificent holes!
This fluffy gluten free sourdough bread is delicious and super easy to make. Once you have your sourdough starter ripe for baking, this recipe can be made up in the AM to be enjoyed that night. Or let it prove in the fridge overnight for a more intense sourdough taste.
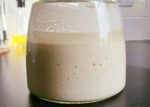
First step – crack out your gluten free sourdough starter. If you don’t know how to make a gluten free sourdough starter, I have a separate recipe on this website if you need help! Check out my ‘fuss free gluten free sourdough starter’ recipe for a fast, easy recipe to get started.
Conventional wheat based sourdough breads need very little starter to make sourdough bread. This is because the gluten is very strong and it’s a much more stable dough. Gluten free, however, can achieve the same light, fluffy results but the balance of starter to gluten free flour is opposite. I use a lot more starter, plus a tad bit of sugar and Psyllium husks.
The sugar gives the yeast a tiny boost (but not entirely necessary if your starter is super strong!) – this is a test and try approach. The Psyllium husks are used in gluten free baking a lot. It’s a lot softer stabiliser in gluten free baking than Xanthan gum. Although, I’m sure if you don’t have Psyllium husks, you can substitute with a pinch (1 tsp) of Xanthan gum. I’ve included an amazon affiliate link below for psyllium husks as it’s not something you’d normally find in a mainstream grocery store.
The other important thing to remember as the starter, and dough will be very fragile so handle carefully – meaning you can’t throw it around and bounce it off the counter. Be gentle with it. Yes, you can get amazing results, with a starter and dough packed full of lovely air pockets. But one big bang on the counter, or swift move too fast could cause it to collapse so just handle with care.
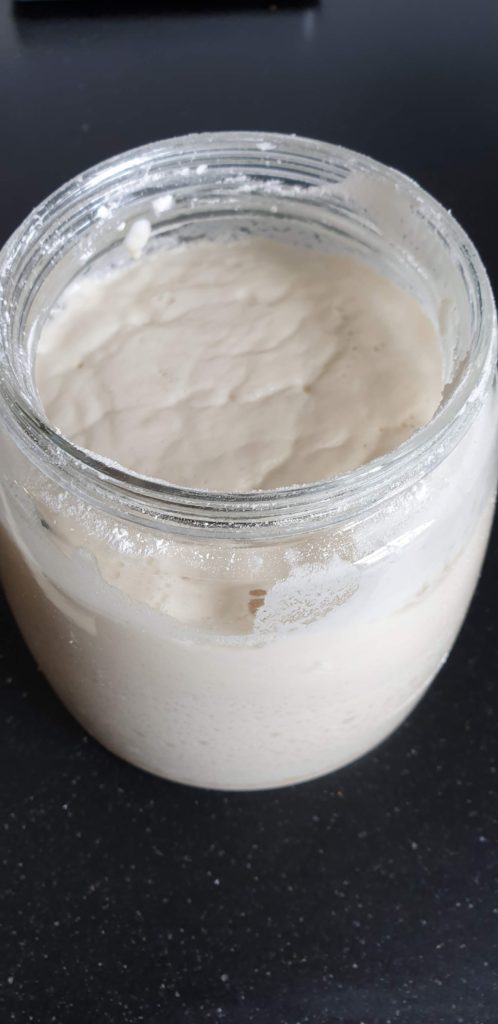
Gluten Free Sourdough Starter 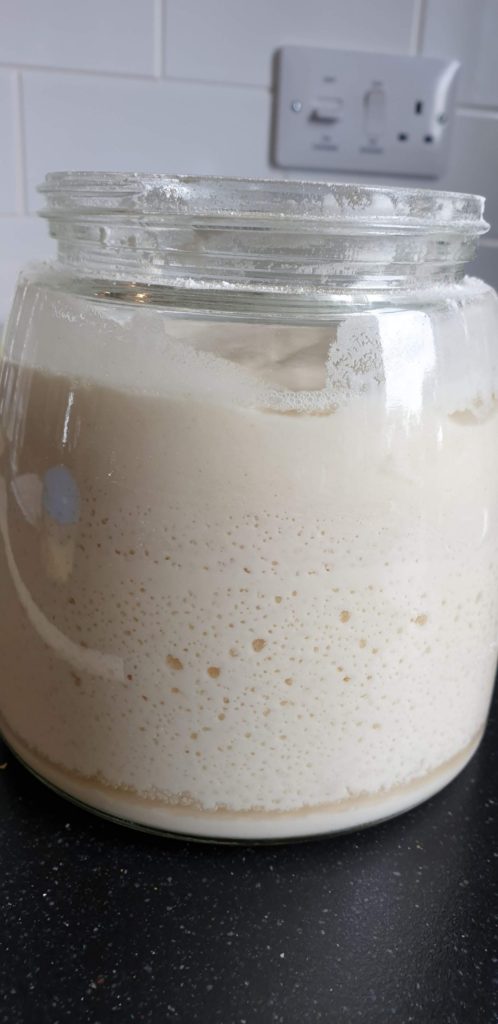
Gluten Free Sourdough Starter
In a large mixing bowl, or mixer using a dough hook, combine the following ingredients until really well blended and smooth:
300g gluten free Caputo 00 gluten free flour
250g (1 cup) warm water
10g Olive Oil
10g Salt
1 Tbsp Psyllium husks
1 tsp sugar (optional)
This recipe is based on using Caputo 00 gluten free flour but you could also use other brands of gluten free flour with varying results. Keep an eye on the water to flour ratio as some gluten free flours can be really thirsty and need more water than others. The key is to have a dough soft enough that it sticks to your hands when dry, but not too wet that it won’t form a ball when your hands are wet or covered with olive oil. You’ll need to play around. Too dry a dough will produce a dry loaf and nobody needs that!
Using some additional gluten free flour, dust the countertop and form the dough into a nice round ball. The dough will be sticky so either wet your hands with a bit of water, or olive oil.
Using more olive oil, grease a round 9″ cake pan (i used one with a removable bottom), or a normal bread loaf pan. Place your gluten free sourdough into the pan and press into the sides. Unlike conventional wheat based sourdough breads, we must bake our sourdough in a pan that can help support it’s rising and baking – cooking on a stone or rack alone will result in the dough flattening out or collapsing which we don’t want.
Cover with a damp cloth or cling film. If you want to bake the same day, place in a warm spot in the house and let rise for up to 8 hours. You need to keep an eye to it as you don’t want it to over prove and collapse, as there is no way to recover from this. No, do you want to under prove and miss out on a light, fluffy loaf. Essentially, if it doubles in size and looks robust, you are ready to bake.
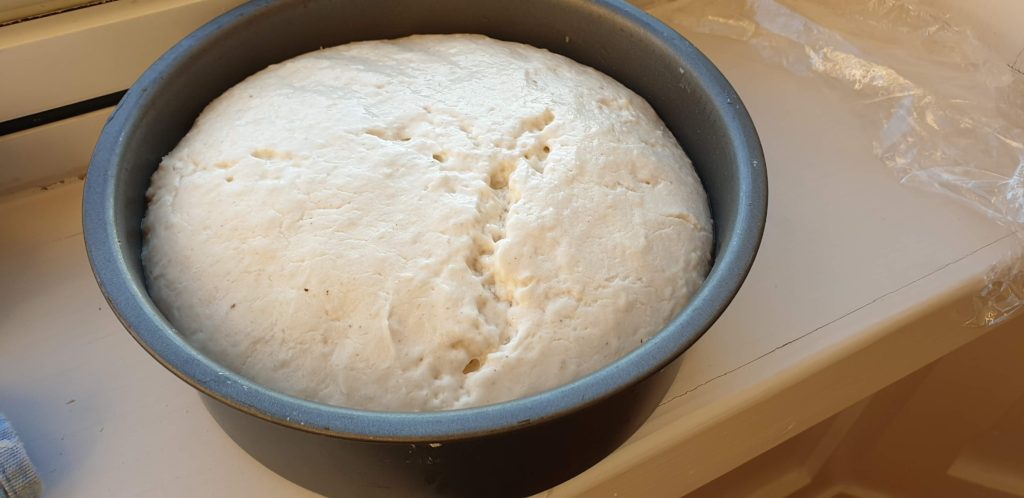
If you want to bake the following morning, you can cover and leave in the fridge for up to 12 hours. When ready to bake, remove from the fridge and follow the same instructions above. The additional cold fermentation will intensify the sour taste in the bread, but the same day version is still super tasty.
Carefully place the pan in a pre-heated oven 170C or 350F for 30 – 35 minutes. A little over half way through the bake, brush the top of the loaf with melted butter. This will help give your crust a nice brown glow, similar to wheat based sourdoughs.
You’ll notice that the bread will naturally pull from the sides of the pan and form its own shape. Once done, remove from the oven and place on a cooling rack for at least 10 minutes.
Store in an airtight bag and enjoy!
I’ve included amazon affiliate links below if you are looking for any ingredients not available in your local grocery store.

